Pre-Season Prep: Get Your Snowboarding Gear Ready for Winter
Have you been marking your calendar with every video premiere announcement? Finally, ditched your swim trunks in favor of your favorite black hoodie? Maybe you’ve been sipping on endless pumpkin-spiced lattes eagerly awaiting that first coating of snow. Ok, even if you haven’t gone that far, one thing is for certain: the weather is finally getting cooler and you’re starting to think a whole heck of a lot about winter. With the season just around the corner, the time is now to dig out your gear and get things prepped for the winter ahead.
From waxing your deck and setting up your bindings to repairing your outerwear and replacing any missing hardware, we’ve compiled a checklist of sorts to ensure you’re ready once the lifts start spinning.
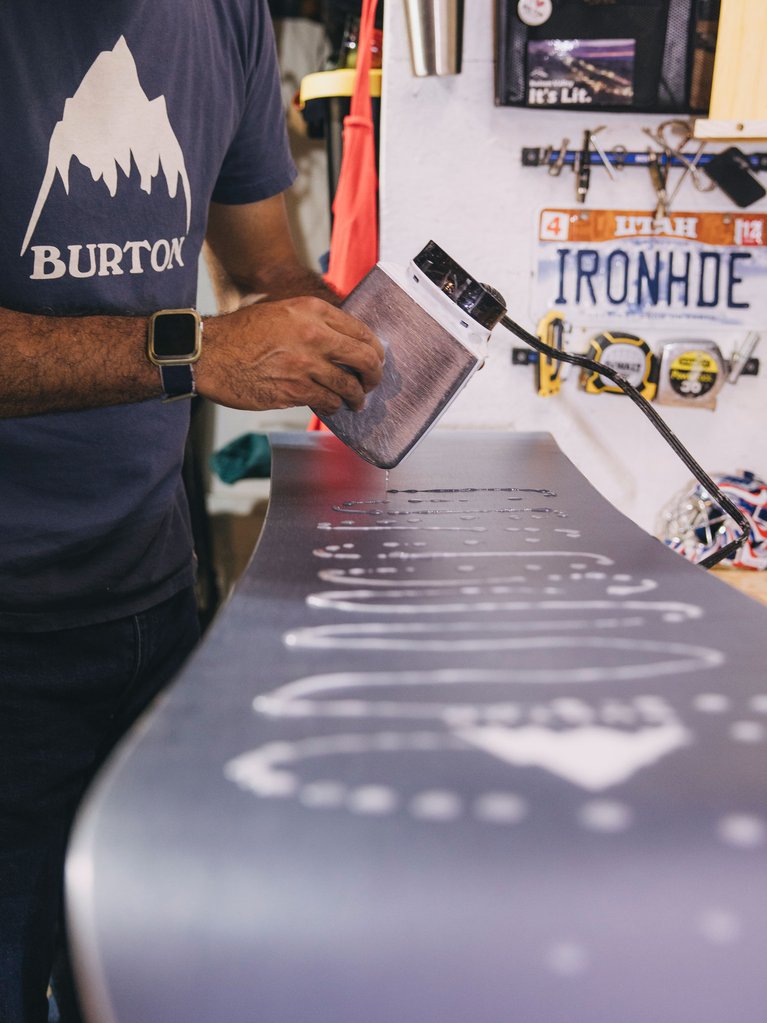
1. Wax Your Board

Opening Day is only a couple of weeks away for a number of resorts across the US, and unless this one’s your first rodeo, you’re familiar with how chaotic it can be. From wrangling the crew together to remembering where you last stashed your headphones, you don’t want to be the guy or gal who’s slowing down the process when the chairs begin to spin.
And you definitely don’t want to be the one slowing down the whole squad when you finally drop in for that first lap.
While the first day on-hill most likely won’t be a full-on pow day (hey, we can always dream, right?) that icy, white ribbon of death will still have your board gripping like a giant sheet of velcro without a little TLC.
If you’re unsure how to properly wax your snowboard, no need to worry. We’ve put together a full step-by-step guide on how to give your rig a perfect coat, complete with tips, tricks, photos, and even a quick video. Check it out.
Now, you may be thinking, “I just bought a brand new board. Isn’t the factory wax good enough right out of the box?” Generally speaking, yes. However, factory tuning typically uses an all-temperature wax, and while that caters to the needs of most riders, some prefer to customize the tune in relation to current conditions. Maybe you live in a warmer, wetter region. Maybe it’s extremely cold. Whatever it may be, here’s everything you need to know about waxing a brand new board.
2. Tune Your Edges
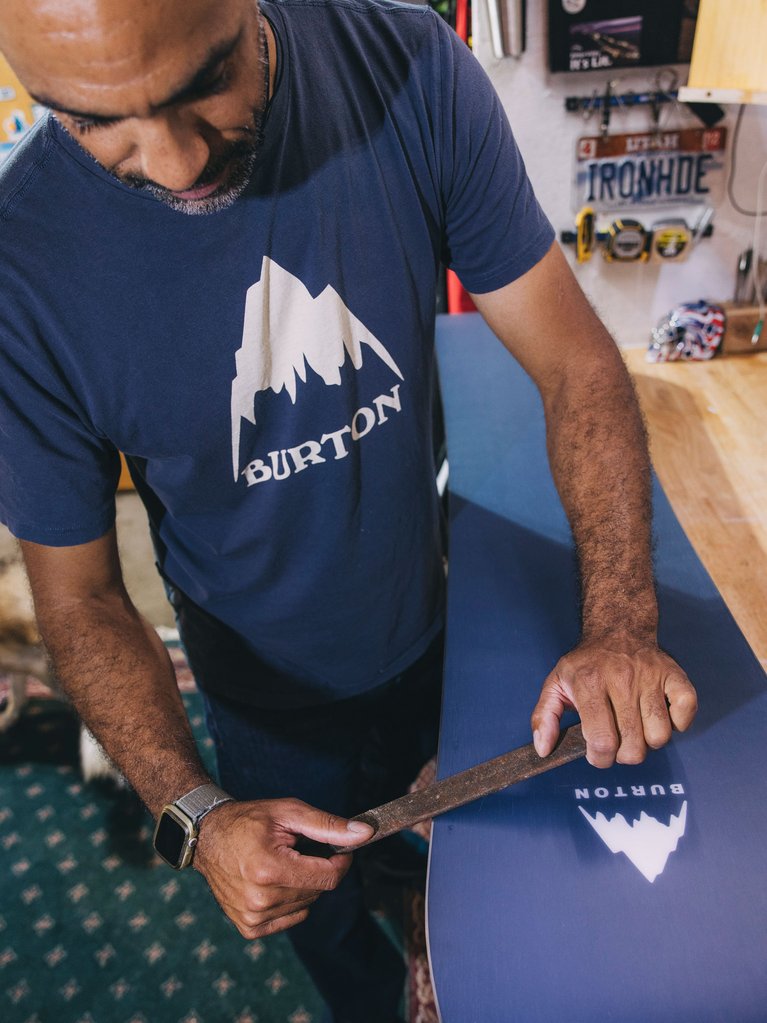
If your board has been hanging out in the basement or in the back of the shed for six months, the edges need some attention. There could be some rusted spots—the result of not drying off a wet board, or storing it in a moist environment—and, unless it’s a brand new deck, there’s probably going to be some lingering nicks and burrs from the previous season.
While it’s important to clean up your edges to maintain a board’s overall performance, it’s also critical to tune your edges based on your personal preferences and riding style. Whether it’s pow, pipe, rails, or icy groomers, catering to specific conditions will make all the difference.
If you’re more of a free rider who prioritizes railed turns through variable conditions—think hard-packed snow or bulletproof groomers—then you’ll most likely want your edges meticulously sharpened for optimal grip and performance.
If lapping the park, hitting rails, and venturing into the streets is more of your style, then you may want to de-tune your edges by dulling them with a file—especially if you just scooped a brand new deck. This creates a smoother, more blunted surface less likely to catch on rails and features, with more forgiveness when landing
The big thing to remember here is that it all comes down to personal preference and what works best for you. Whether you want your edges as sharp as they were out of the wrapper, or filed down as soon as they come out of said wrapper, it’s still important to keep them clean and smooth from the first day of the season through the last day of the season.
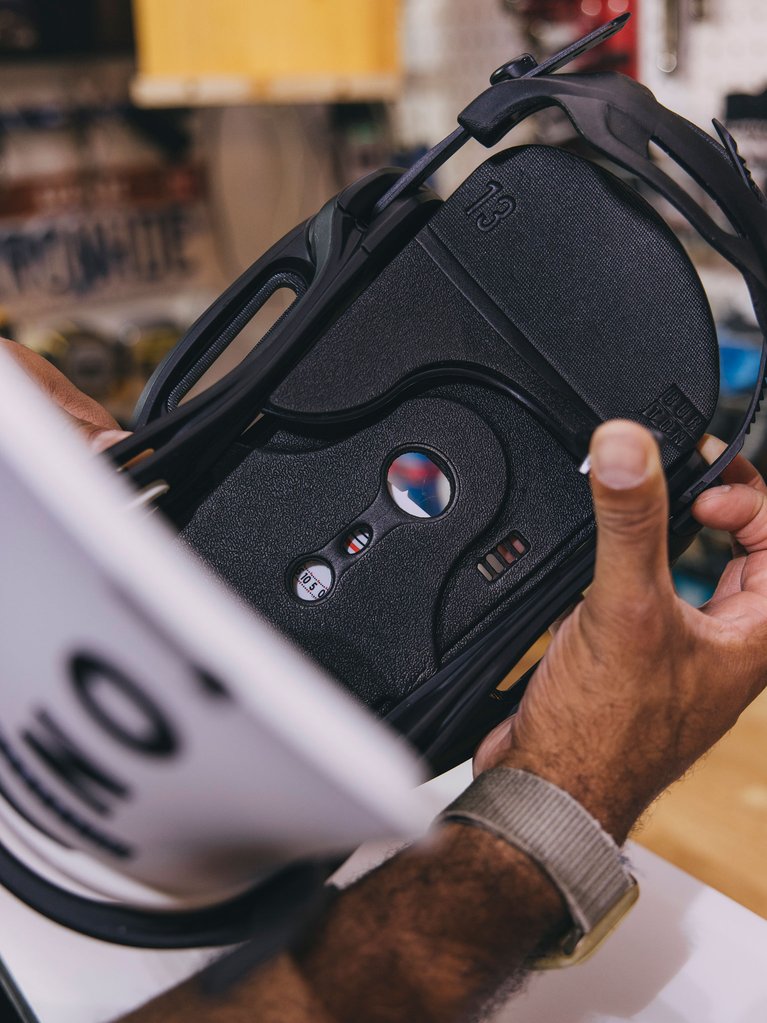
3. Set Your Board Up the RIGHT Way
The beautiful thing about snowboarding is there’s no right or wrong way to do it—from your riding and fashion style to line and trick selection, standing sideways offers a true freedom of expression.
But that doesn’t mean there isn’t a right or wrong way to set up your board. In fact, mis-mounted bindings could result in anything from your toes dragging in the snow to discomfort in your joints. And the last thing anyone wants is a day cut short—or a powder lap interrupted—by something that could’ve been easily sorted out at home.
So are you regular? Goofy? Ducked? Posi/ posi? Do you want forward lean? If all of this sounds like gibberish to you, then our Beginner’s Guide to Setting Up a Snowboard is a good place to start. Not only will it guide you through the basics of setting up a board, but it will walk you through the detailed steps associated with stance width and angles, strap sizing and adjustments, and how to properly mount your bindings.
Speaking of bindings, we’ve also put together a more focused guide on How to Mount Snowboarding Bindings & Other Binding Basics. We cover the various types of systems—from 4X4 to The Channel—to the differences in interfaces—like Re:Flex Baseplates and EST.
Dialing in that perfect setup for you and your riding style will set you up for a more enjoyable time on-hill from day one to day 100.
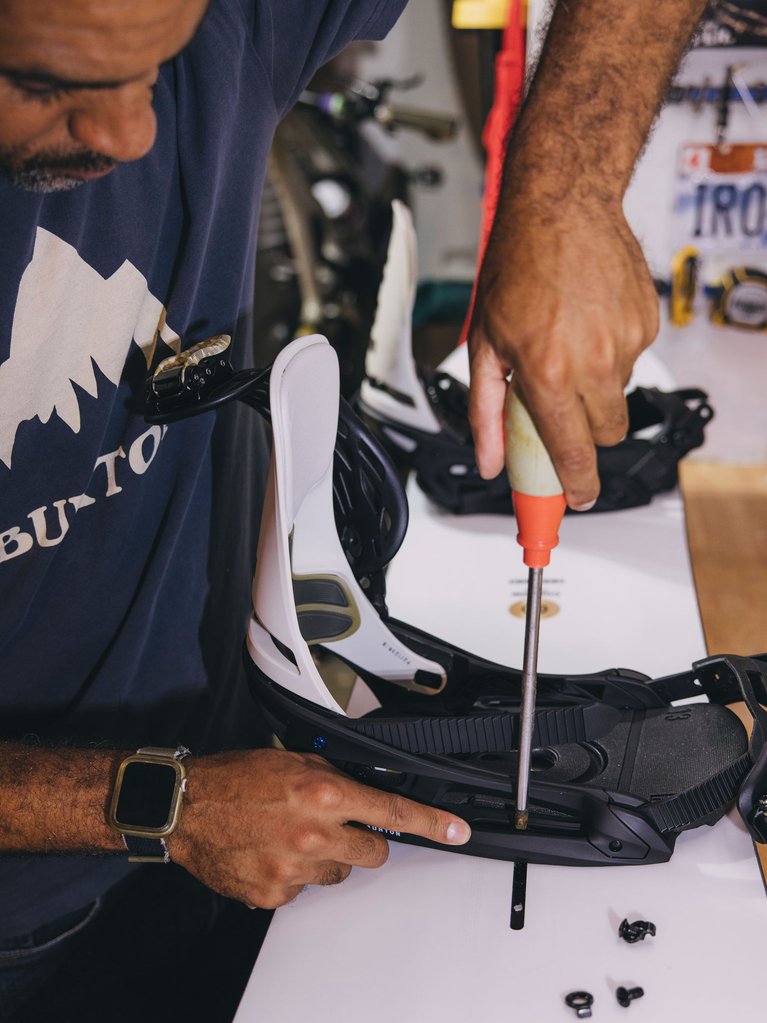
4. Repair Your Gear

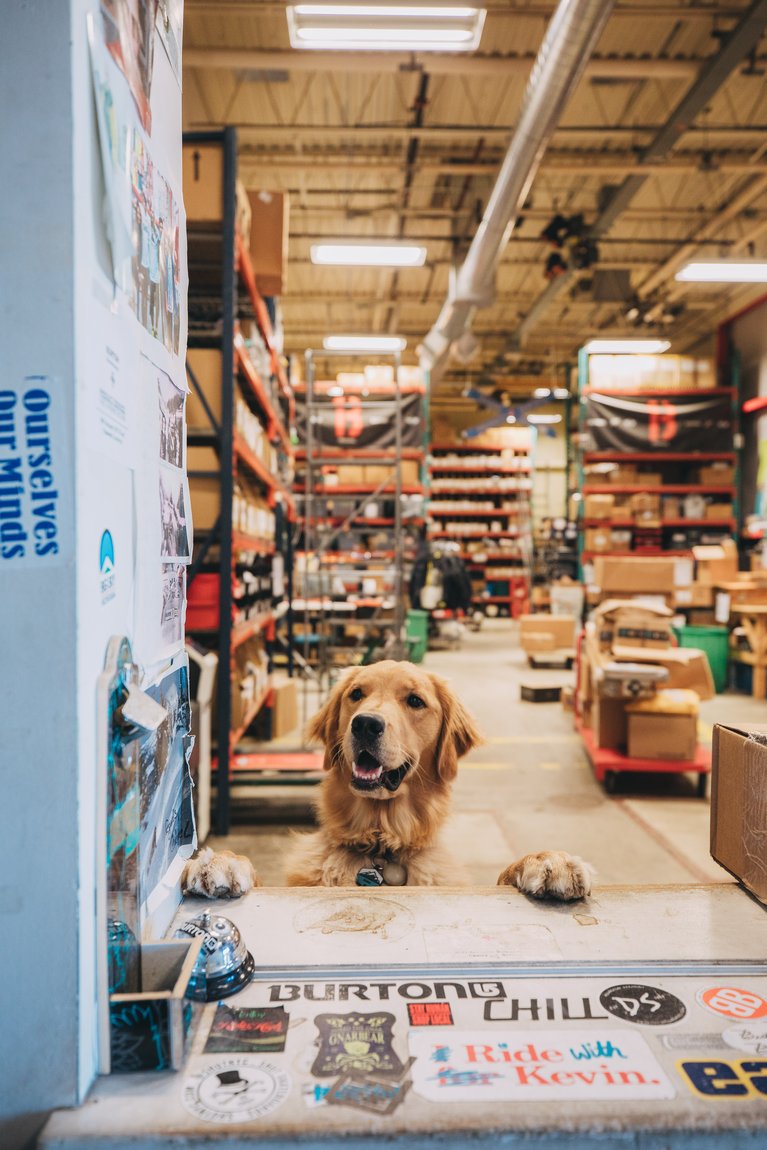
Since Jake founded Burton Snowboards in 1977, we’ve put the utmost pride into every single product we’ve made. Through decades of rigorous research, engineering, and, of course, a whole lot of field testing, we’re confident that Burton products are the very best in the biz.
But, we also know that stuff happens. Maybe you lost some binding hardware during your move to the mountains. Maybe you were hitting the gym all summer and accidentally went a little too Incredible Hulk when putting on your boots again. If you’re anything like us, you just want to be prepared when heading out on a cross-country trip or getting off the grid for a few days.
Whatever the reason, it’s never a bad idea to stock up on some Spare Parts. Plus, keeping a few of these in your pack or cargo box might just save the day for a homie in a bind. Good karma always goes a long way.
5. Submit a Warranty Claim
Like we just said, we take a heck of a lot of pride in every product we make. But on rare occasions, things do happen and we want to make sure you can get back out there as quickly as possible. That’s why we set out to not just make the best gear in the biz, but to back it with the best warranty in the biz.
Think you have something that’s covered by our warranty? Be sure to double-check before the season starts so we can help you take care of it prior to the lifts spinning. After all, we don’t want you missing out on Opening Day ‘cause you don’t have a pair of pants to wear (and no one else wants you to show up without pants on, either).
Visit the Warranty Claim section on our website to submit a claim, as well as to review any frequently asked questions related to coverage. We even threw in a couple tips for protecting your gear for future reference.
Or, if you are near any of our flagship stores, you can drop in with your gear and talk with our store staff about setting up a claim in person.
Plus, if you are in or around our HQ in Burlington VT, you can come by our warranty window to speed up the process.
6. Get In the RIGHT Gear

Nothing can damper a day, week, month, or entire season like the wrong gear. Unfortunately, one of the biggest mistakes most riders make is sacrificing the right gear for convenience—whether that’s choosing a cheaper option with an incorrect fit, prioritizing aesthetics over function, or simply assuming what’s right for someone else is what’s right for them.
It all starts with boots. Perhaps more than any other piece of your kit, properly fitted snowboard boots are essential to a positive experience on the hill. But with more options for flex, lacing systems, and construction than ever before, finding the right pair can feel like an overwhelming task.
Well, we got you. Burton’s Official Snowboard Boot Sizing Guide offers everything you need to know for hunting down your next (or first) pair of boots. And trust us, the five minutes it takes to read is much less painful than a blister or cramped arch. We promise.
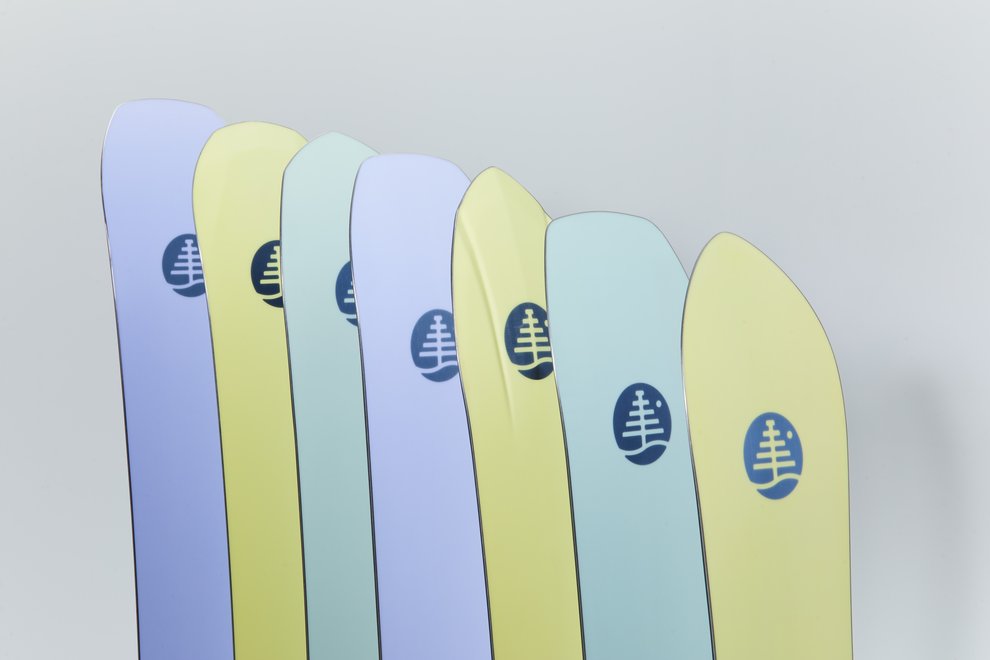
So, what about the board?
While a size chart can still be a good place to start, there are now many more factors and options that go into choosing the right board. Elements like shape, width, and camber profiles all affect what size board you should select. Do you plan on riding a lot of park? Maybe you want a board designed for ripping pow. Or maybe you want one board that can just do it all.
We realize there are more questions than ever when it comes to picking out a new rig, so we’ve made it a little bit easier on you. Check out our guide on getting the right snowboard size, and then rest assured that you’ll be strapping into something you love this season. We know you’ll find something you’re hyped on.
Feeling a bit more prepared for the season?
Good. That’s what we were hoping for. We’ve all been itching for the snow to start falling, and there’s no better way to pass the time than getting all of our gear in order.
Now, go fire up some of those old shred flicks—or queue up your trusty snowboard playlist—and get to prepping. After that, maybe lay it all out in your room like you used to do the night before a field trip. Again, we won’t judge you.
See you all out there for Opening Day!