On your mat, get set, go: Why Yoga and Snowboarding Complement One Another
Even if snowboarding and yoga look completely different from one another at first glance, the two sports complement one another tremendously. Because snowboarding is a very dynamic sport that requires a lot of strength and endurance, yoga is ideal for helping you not only become more flexible, but also stronger. Yoga can also help you improve your balance significantly.
We asked Chloé Sillieres, snowboarder and passionate yoga instructor, how to best combine snowboarding and yoga to get the most out of both.
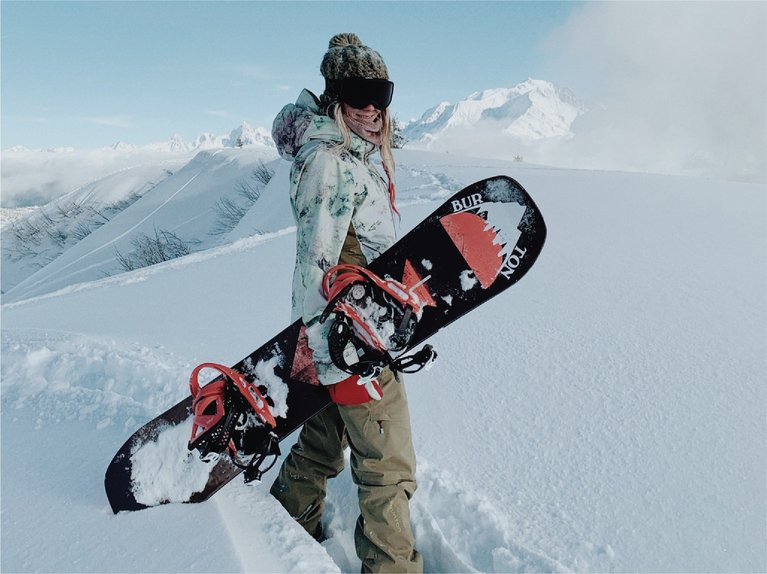
What I love most about yoga is this unbelievable sense of happiness I feel after each session. I am a person who is under a lot of stress and yoga helps me to stay relaxed in (almost) any situation.
Why is yoga good for snowboarders?
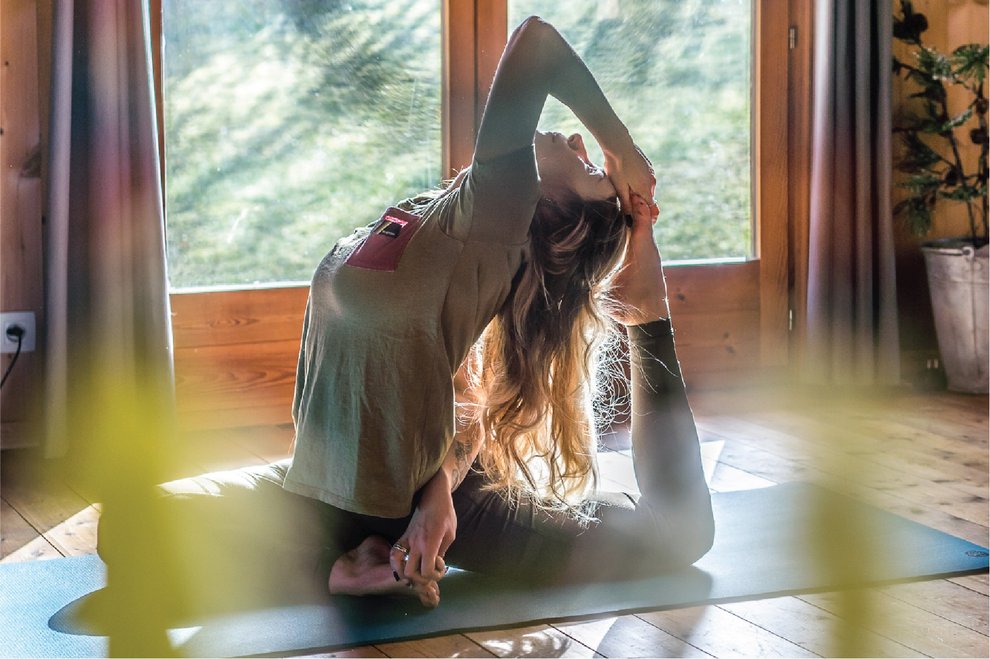
Overall, yoga is a perfect fit with snowboarding, offering benefits from strength to recovery. On one hand, the physical aspects of yoga make you stronger, but also more flexible. On the other hand, the mental aspect of practice helps you remain more focused and calm. Yoga means “union,” so you can visualize this as a connection between you and your board.
In addition, as snowboarders, we tend to have tense leg muscles and a stiff chest. Yoga helps us to open up the whole front of our body while simultaneously strengthening all our muscles that we need for snowboarding.
What do I need to practice yoga at home?
You just need a mat to get started. If you want to continue to build your skills, you will eventually need blocks or a strap. If you don’t have these readily available, you can use books as blocks and a hand towel as a strap. As you can see, it’s not complicated!
How can I further develop my snowboarding skills with yoga?
Yoga can help you in two ways:
- mentally and
- physically
Imagine you want to learn a new trick. You must first consider the following: How do I do the trick? What’s the best way to try it out? How do I pull it off? Next it’s practice, practice, practice - first on dry land and then in the snow. The trick probably won’t work on the first attempt, but you keep trying it again and again until you finally get it. You will also find this same process in yoga. You work on your mental strength first followed by your physical skills before attempting to do the new pose in practice.
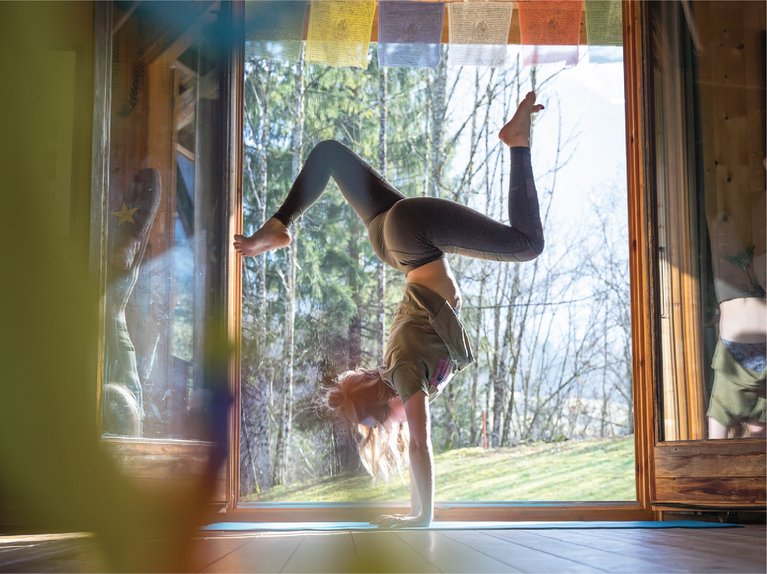
Yoga can be particularly useful in achieving better balance:
We all know the problems with balance in snowboarding: getting off the chairlift with just one foot then maybe sliding across a sheet of ice before you get into the swing of it. But if you take the time and do some exercises on your mat regularly, you won’t have problems with that anymore. Poses like ardha chandrasana (half moon pose) or virabhadrasana 3 (warrior 3) are perfect for us snowboarders to achieve better balance.
Yoga has really helped me to recover from injuries more quickly. Yoga isn’t just a great tool for me physically, yoga also helps me to keep calm and maintain perspective in stressful situations.
How can yoga help in the recovery phases after snowboarding?
Recovery is one of the most important phases after a challenging day on the mountain. If you want to snowboard seven days a week, you definitely need to give your body time to recover. Yoga is the ideal option to support your body in the recovery process. Yin yoga or even restorative yoga are best for healing. Even if you only have 10 minutes, use it to breathe deeply to open your hips, chest and calves. Don’t forget your feet and ankles since these are under a particularly large amount of stress when snowboarding!
Our top three yoga poses for snowboarders:
Nadi shodhana (alternate nostril breathing)
This breathing technique helps you to improve your concentration before a challenging day on the mountain or to relax after a day full of powder, kickers and rails.
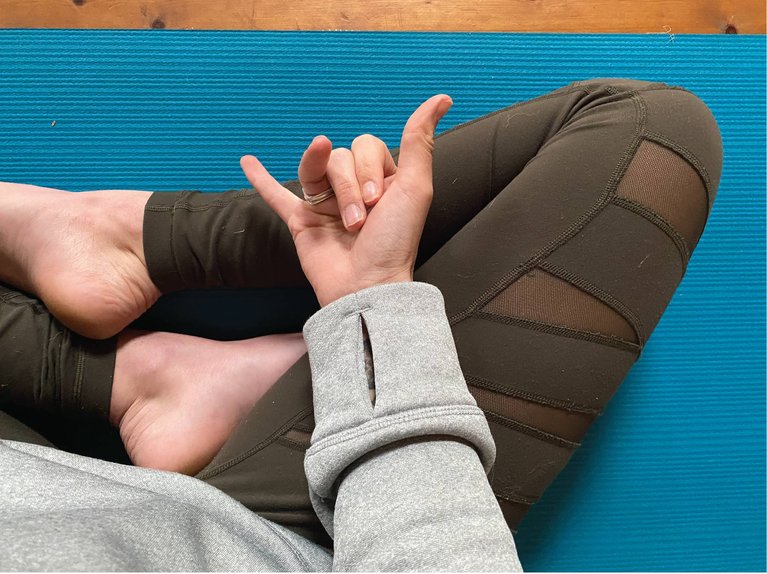
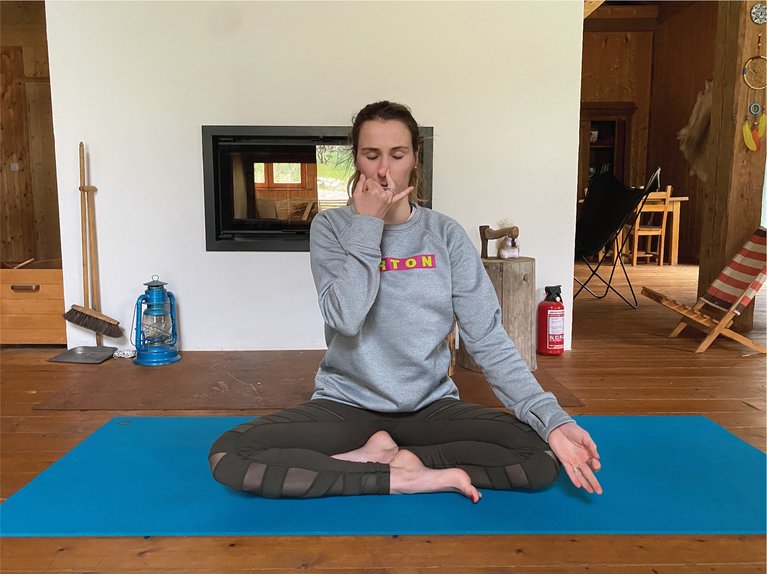
- Sit comfortably with your legs crossed on the mat. Make sure that your spine is straight.
- Place your left hand in your lap, pointer finger and thumb touching one another. The palm of the hand faces up to receive more energy or down to release it. Move your right hand to your face.
- Place your index and middle finger between your eyebrows. These two fingers are only used as support. The thumb and ring finger are actively used.
- Close your eyes and breathe deeply in and out through your nose.
- Close your right nostril with your right thumb. Inhale slowly and steadily through the left nostril.
- Close the left nostril with your ring finger so that both nostrils are closed and hold your breath for a moment.
- Open the right nostril and exhale slowly through the right nostril. Take a short break after exhaling.
- Inhale slowly through the right nostril.
- Hold both nostrils closed (with ring finger and thumb).
- Open the left nostril and exhale slowly through the left nostril. Take a short break after exhaling.
- Repeat this exercise 5-10 times to give your mind the opportunity to follow the rhythm of breathing in and out.
Steps 5-9 make up a full round of the alternate nostril breathing. If you perform the steps as directed, you should need about 30 to 40 seconds for one round. Repeat the exercise 5-10 times if you are stressed, anxious or feel imbalanced.
Adho mukha svanasana (downward-facing dog)
This is one of the most well-known poses in yoga, and that’s because it is one of the best. Anyone can easily attempt this pose and it comes in different variations. Even if you don’t have much time for your training, you should at least try this exercise for a few breaths since it stretches and strengthens at the same time.
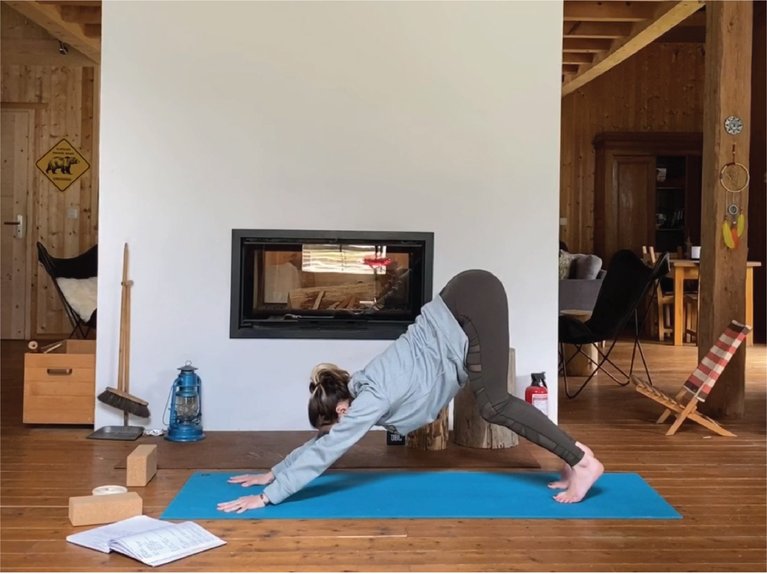
- Position yourself on all fours on your mat and make sure that your knees are under your hips and your hands are slightly in front of your shoulders. Spread your fingers and while doing so, make sure that the index finger is parallel or turned slightly out. Place your feet on the mat.
- Exhale, stretch your arms and lift your knees off the floor. Keep your knees slightly bent and heels in the air. Slowly stretch your tailbone. Pull the backs of the knees towards the ceiling and activate the insides of your legs from the ankles to the groin.
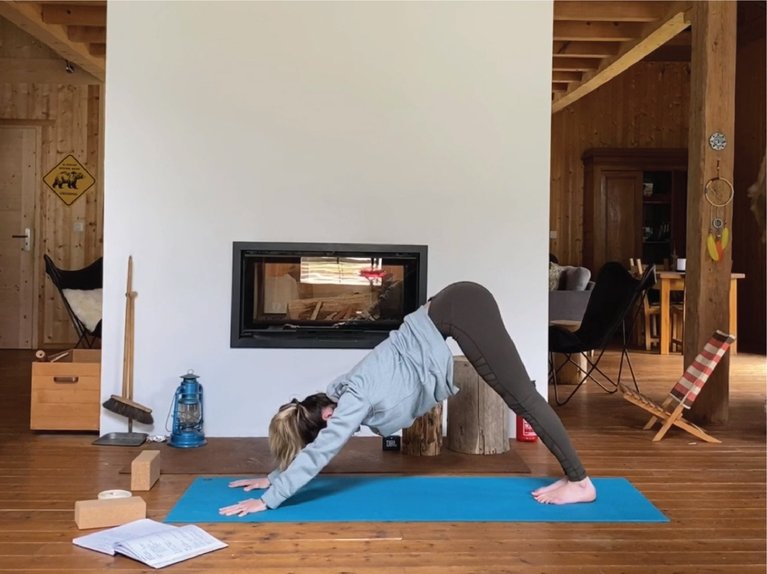
- While exhaling, press the thighs back and the heels towards the floor. Stretch your knees, always being careful not to overstretch them. Activate the outer thighs and pull the upper thighs together by turning them slightly inward. Tilt the pelvis forward.
- Activate the outside of your arms and press the tips of your index fingers against the mat. From these two points, lift the inside of your arms from the wrists to the shoulders. Pull the shoulder blades towards the mat. Keep your head parallel to your arms and hold the position.
- Remain in this pose for 1 to 3 minutes. While exhaling, place your knees back on the mat and rest in child’s pose.
Utkatasana (chair pose)
Utkatasana is a pose that helps tone your legs (quadriceps, inner thighs, feet and ankles) as well as your core. This exercise also helps to properly align the knees. When carving, utkatasana helps to maintain a healthy range of motion to avoid lower back injuries.
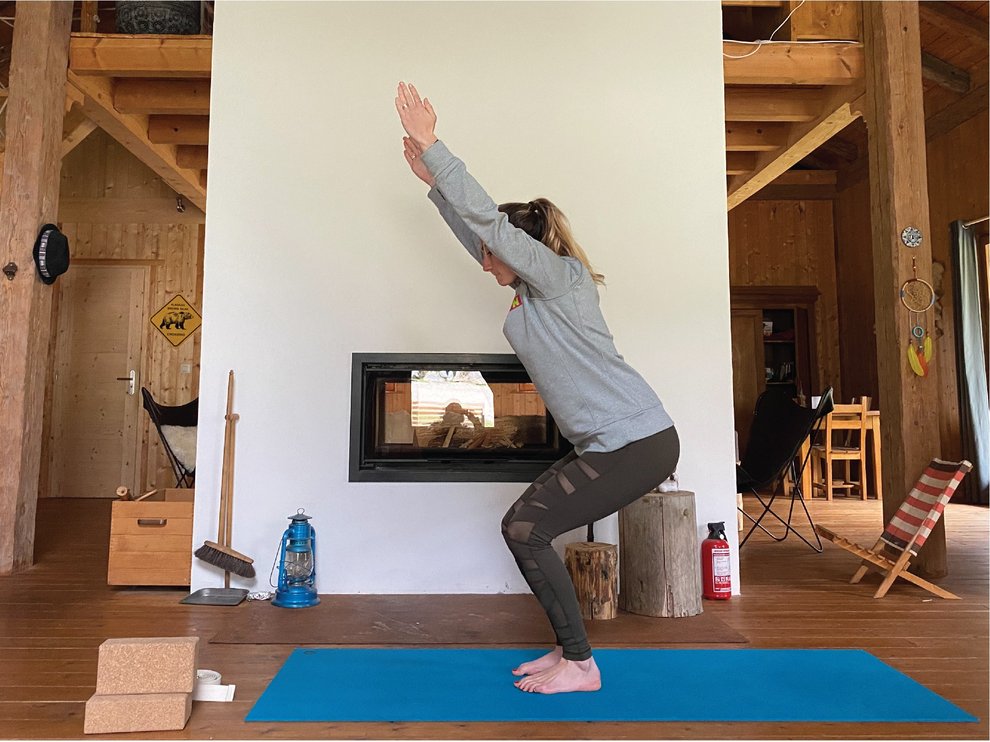
- Start from the tadasana pose. Breathe out and lift your arms perpendicular to the floor. Keep your arms parallel with palms facing in or place the palms together.
- Exhale and bend the knees. While doing so, try to keep the thighs as parallel to the floor as possible. Make sure that your knees do not extend beyond your feet. The upper body bends slightly forward above the thighs until the upper body is at close to a right angle with the thighs. Keep the inner thighs parallel to one another and press the upper portion of the thigh bones towards the heels.
- Draw your shoulder blades towards the mat and tilt your pelvis slightly back to keep your lower back long and feel a mild stretch.
- Remain in this position 30 seconds to 1 minute. To release the pose, extend the knees while inhaling and use the force from the arms to stand up. Exhale and move your arms back to the side in tadasana.
- You can try out different variations here. For example, you can stand on your tiptoes or attempt to keep your thighs parallel to the floor.
Are you ready for your first yoga session?
As you can see, yoga is anything but boring and can help you to significantly improve your snowboarding performance, to find your inner balance and to recover more quickly after a challenging day. Best of all, you can easily practice at home and you only need a mat. We’ve recorded an hour of yoga with Chloé so you can get started right away. What are you waiting for? Grab your mat and try it out!